The Visual PinBall Editor
|
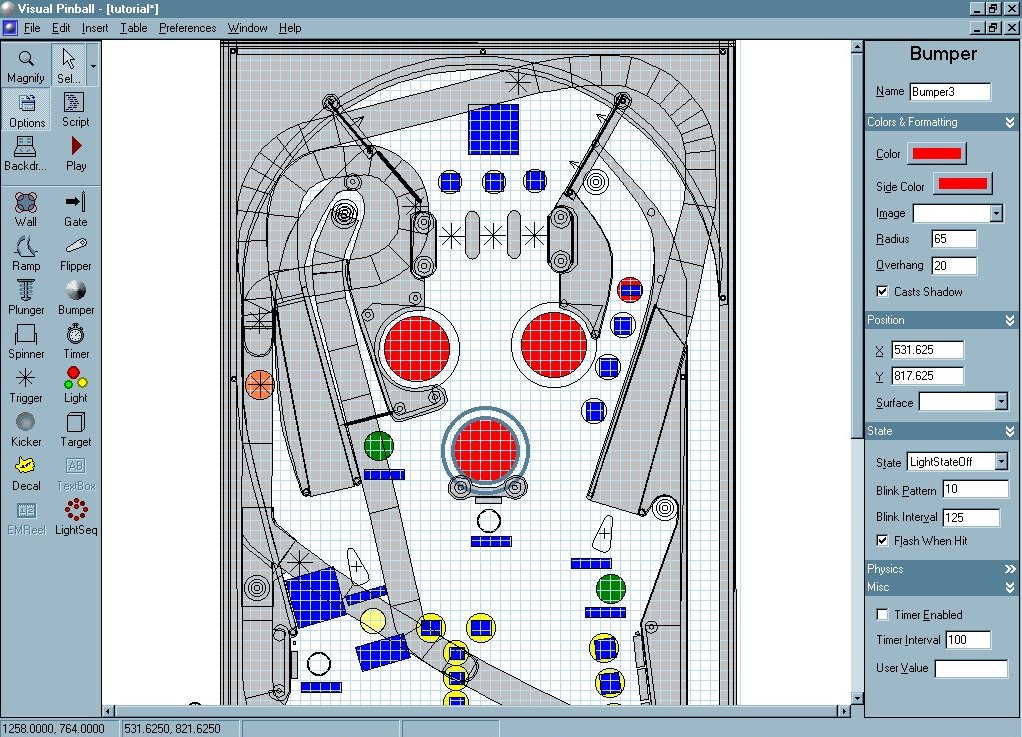
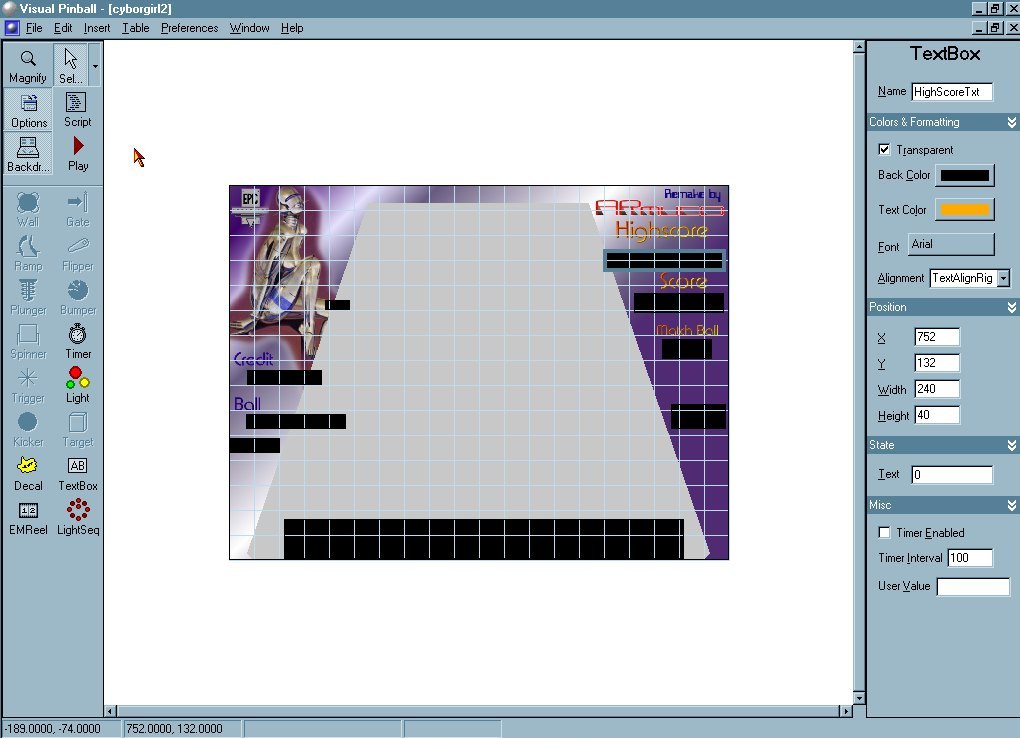
The Editor may look a little intimidating at first, but we will
cover all the basics to get you well on your way to creating your very
own pinball table. The Editor is the main part of building a table.
From here we add our walls, lights, bumpers, targets, and all the rest
of the objects that are part of a pinball table.
Note. In the picture to the right, the Options box is selected.
With Options selected you gain the access to the properties
of selected items.
You can see the Options to the far right of the screen. In this
Picture, the Table is selected.
|
|
First off, lets get the flyout menu bar out of the way, this
will show us how to load/save our tables and lots more.

The very top (Dark Blue) is the name of the table that we have loaded into the VP Editor.
| Option File
|
|
 |
File/
New– Creates a new basic table
Open– select a table you want to open
Close– Closes the selected table
Save– Saves your table that’s opened
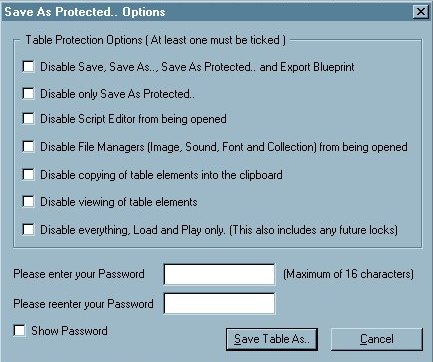
Save As…- saves your table with a name changeSave
As Protected - You can protect your works with a password
Export– Exports a blue Print of your table for editing
in a drawing program
Unlock - the password protection
Exit - Exits Visual Pinball or (VP) for short
|
|
Save As Protected there are diffenrent otion to protect your table
. Depend only how far you want share your work with others.
|
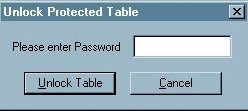 |
Unlock This open the unlock
window . You need to enter your password to be able to edit your table again. |
| Option
Edit |
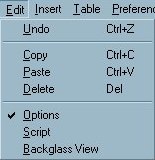
Edit/
Undo– undoes the last thing you did.
(Ex. Say you put a bumper on the table &didn’twant it, Click this
& it’s gone
Copy– copies a selected item. (Highlight
or click on an item you want to copy & select copy
Paste– Pastes the Item you just copied (it
puts the new item right over the original)
Delete– Deletes a selected item or a group
of selected items.
Options –Opens up the option properties,
clicking on different objects show different options
 Options Optionsalso
has a button in the ToolbarScript – open’s your script editor. This
is where you type to add sound, drop targets ect.
 Sript Sriptalso has
a button in the Toolbar
Backglass View– gives a view of the backglass, usually
where your points, credits, ect. Are displayed.
 Backglass Backglass
also has a button in the Toolbar called Backdrop
|
 |
| |
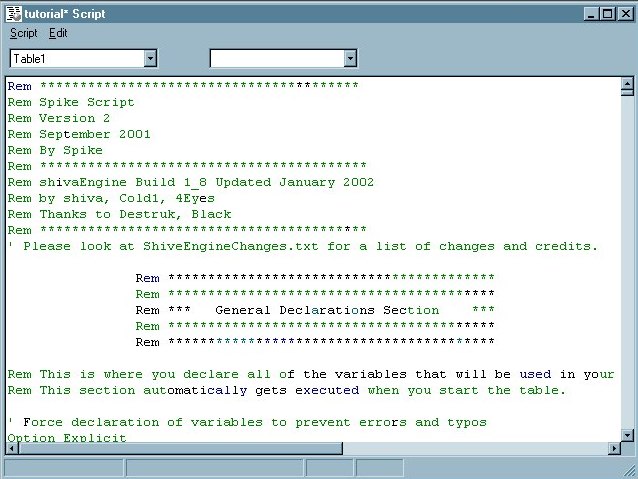
The script window
The Backdrop window
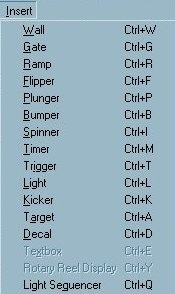
| the Insert options |
Or it’s the same as using the ToolBar |
 |
 |
These are the objects that can be added to a Pinball Table. Ill go into these
in the next part, along with their option's attributes
| Table
options |
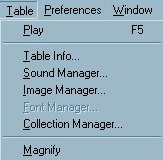
Play–After you have a table loaded in the
editor, use this to Play it
 Playalso
has a button in the Toolbar and F5 is a shortcut. Playalso
has a button in the Toolbar and F5 is a shortcut.
Sound Manager– Use this to import sounds into your
table & use them in your script by typing PlaySound "nameofsound"
Image Manager– Use this to import images into your pinball
table. Click on an object & in the objects options, select an
Image in the scroll down list.
Font Manager– Collection Manager
- select a group of items & make a collection with them Magnify
- Zooms in on a selected part of the table in the editor.
 Magnify
- also has a button in the Toolbar Right click while it's
selected will zoom out. Magnify
- also has a button in the Toolbar Right click while it's
selected will zoom out.
Note: The zoom can get slow when images are
displayed on a lot of walls . So do only activate image on them when
you need them to edit parts of the table.
|
 |
| |
|
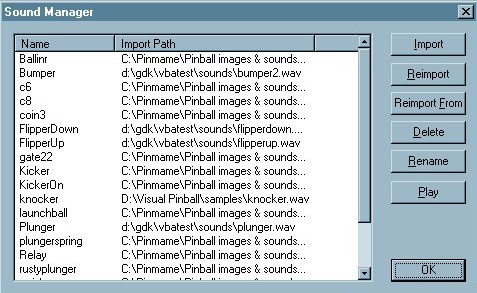
Option Sound Manager
|
Import- This will open up another window with a directory,
look for a wave file you would like to add.
Once it's imported you need to save your table, then you would add it
in the script Playsound "Bumper"
Reimport- Lets you replace the selected sound from the
same Place you got the original Import
Reimport From-Lets you replace the
selected sound, from another Directory.
Delete- Select the sound(Click on it) & click delete
to get rid of it.
Rename- Select the sound(Click on it) & type over the
hilighted text to rename it.
Play- Select the sound(Click on it) & click play to
hear the Sound.
Note: Only .wav files are used right now for ingame sounds.
Mp3's can be used as music though. But they are used from the script.
See the Faq. for more info on music.
|
|
After Import is selected, it will open this window(Below),
from here you locate the directory your sounds are located in & select
the Sound you wish to import. From there it will show up in the sound
manager above.

|
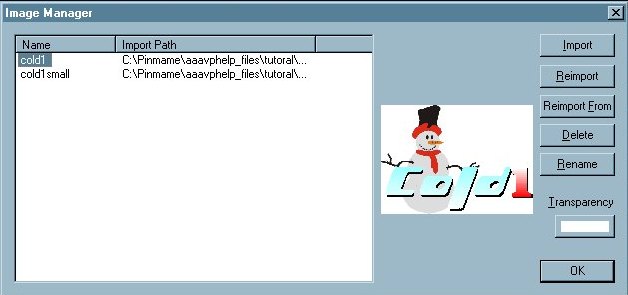
| Option Image
Manager |
Import- This will open up another window with a directory,
look for a graphic file you would like to add.
Once it's imported you need to save your table.
Reimport- Lets you replace the selected graphic from the
same Place you got the original Import.
Reimport From-Lets you replace the selected
graphic, from another Directory.
Delete- Select the graphic(Click on it) & click delete
to get rid of it.
Rename- Select the graphic(Click on it) & type over
the hilighted text to rename it.
See the Faq. for more info on graphics.
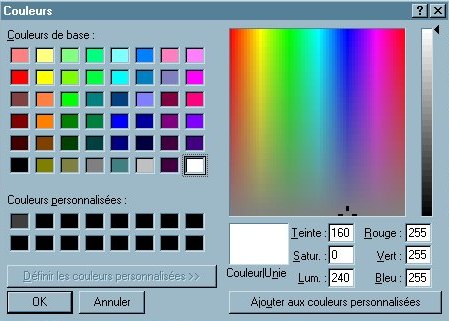
Transparency - Select the color you want to be Transparent.
Notice the color white is selected for transparency, so this color will
not show up when playing the Pinball Table.
Note:
Use real black (RGB 0,0,0) or real white( RGB 255,255,255) for the mask
in your paint programm. To avoid problems with artefact fill the mask
with an odd color and refill it with black or white. Using an other color
for transparency seems not work .
|
|
|
|
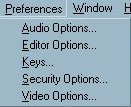
Option Preferences
|
|
|
|
Preferences/
|
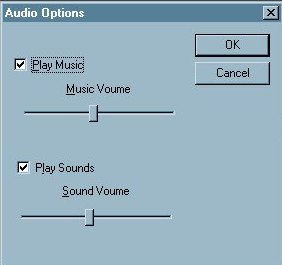 |
Audio - From
here you can adjust the ingame Sounds/Volume.
Defaults are shown.
Note: Ajust the sound to the music with a sound editor to have
a well outbalanced sound.
|
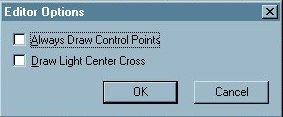 |
Editor Option
Permet de modifier certaine proriété de l'éditeur
Always Draw Control Points Affiche tout les points de contrôle
même s'ils ne sont pas séléctionnés.
Draw Light Center Cross Affiche le centre de la lumière
même si elles ne sont pas séléctionnées.
|
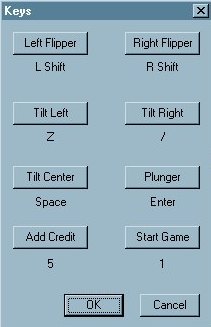 |
Keys- From here you can reassign keyboard commands for
the keys used to play the Pinball games. Defaults are shown.
Note:all keycodes are in the script of a
basic table except the add credit & start game
Ex.The Plunger key is assigned to the Enter Key in the keys Preferences
If keycode = PlungerKey Then
Plunger.PullBack
End If
Plunger is the Enter key as default, so if you change it to.....lets
say L, the you would need to use L to launch the ball instead of enter.
So for add a coin & start game,
If keycode = AddCreditKey Then 'assigned key is 5
If keycode = StartGameKey Then 'assigned key is 1
you would need to add this into your script to use these(See Shivaengine.vps)
you can open the script up (ShivaEngine.vps) in a text editor. This is
the script for Shivaengine.
More Keycodes
Note: PlungerKey
AddCreditKey StartGameKey are constantes with the numerical value
of the key . We can directly access to the key by the value if we know
the value.
If keycode =6 Then 'The Key 5 on the keyboard is used.
|
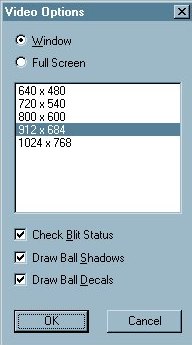 |
Video - From here you can adjust ingame resolutions. Defaults
are shown.
|
| |
|
|
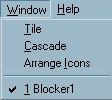
Otpion Window
|
|
|
|
Tile ,Cascade
,Arrange Icons don't work.
Not sure what the functions do here, but if you have more than 1 Table
opened you can select between them. they will show up below the Arange
Icons
|
|
Option Help
|
|
|
|
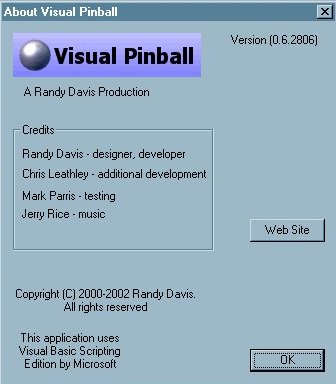
About...
Shows you the current version of Visual Pinball you are running.
|
 |
|
Editor - Learn the Basics of the Visual Pinball Editor. Menu
Bar Functions - Importing Images & Sounds.
Table Options - Ball Color -
This explains Table options, importing a ball image & Changing ball color.
Right Click Options - Explains
All Right Clicking Options for All Objects.
Building a simple Sling Shot - Learn
how to make a slingshot from scratch using a basic wall.
Decals - Explains Decal Options, &
shows how to import an image for a decal. Pinball DemoDecal
Plungers & Kickers - How to use
a Plungers & Kickers & a Simple Pinball Demo
Walls & Targets - Explains
Walls & Targets. Pinball Demo1
Lights Collections - Learn
how to use lights in a collection using collection manager. Pinball DemoLights
Lights & Bumpers - Learning
Light & Bumper States & Lights, Bumpers Option Bar. Pinball Demo2
Gate & Sound Events - Explains
Gate options & how to use sound events in keyup & keydown.Pinball Demo2
TextBox & Making Score count
- Shows you how to use TextBoxes & AddScore & Dim Score. Pinball Demo3
Ramps - Explains Ramp Options &
shows you how to build a simple Ramp. Pinball Demo4
Spinners - Explains Spinner Options
& shows script to make a spinner work. Pinball Demo4
Triggers - Explains Trigger Options
& shows script to make a Trigger work. Pinball Demo5
Timers - Explains Timer Options &
shows script to make a Timer work. Pinball Demo6
Flippers - Explains Flipper Options
& shows script to make a Flipper work. Pinball Demo7
EMReel - Shows you how to use EMReels.
Pinball Demo8
Go Back to Main Page